How to Upcycle Denim Jeans into a Purse
Winter in Indianapolis has been doing what it does best lately: keeping us indoors. If you’re snowed in and itching for a creative project, we’ve got you covered. This denim purse DIY is a fun, beginner-friendly way to upcycle something you probably already have in your closet.
At StitchWorks, we’re big on sustainability and skill-building, and this project checks both boxes. Have fun creating, and send us pictures if you do end up making this!
Before You Start
This project is best completed using a sewing machine. Hand sewing is possible, but it will take significantly more time. If you don’t currently have access to a sewing machine, don’t stress! We offer independent sew sessions at Stitchworks on most Saturdays where you can access professional-grade straight stitch and serger machines, cutting tables, sewing/cutting equipment, iron, and basic colored threads. Just make sure you’ve completed our Intro to Industrial Sewing class first.
Because denim is a thicker fabric, we recommend using a denim needle to avoid breaking needles mid-project. If you don’t have one, a standard needle will work, just go slow and be extra cautious when sewing through thicker seams.
You will need:
Pair of jeans
Sewing machine
Thread (blue blends in the best, but if you're looking to make your stitches stand out, feel free to use another color!)
Fabric Scissors
Shirt/other fabric for lining (optional)
Pins
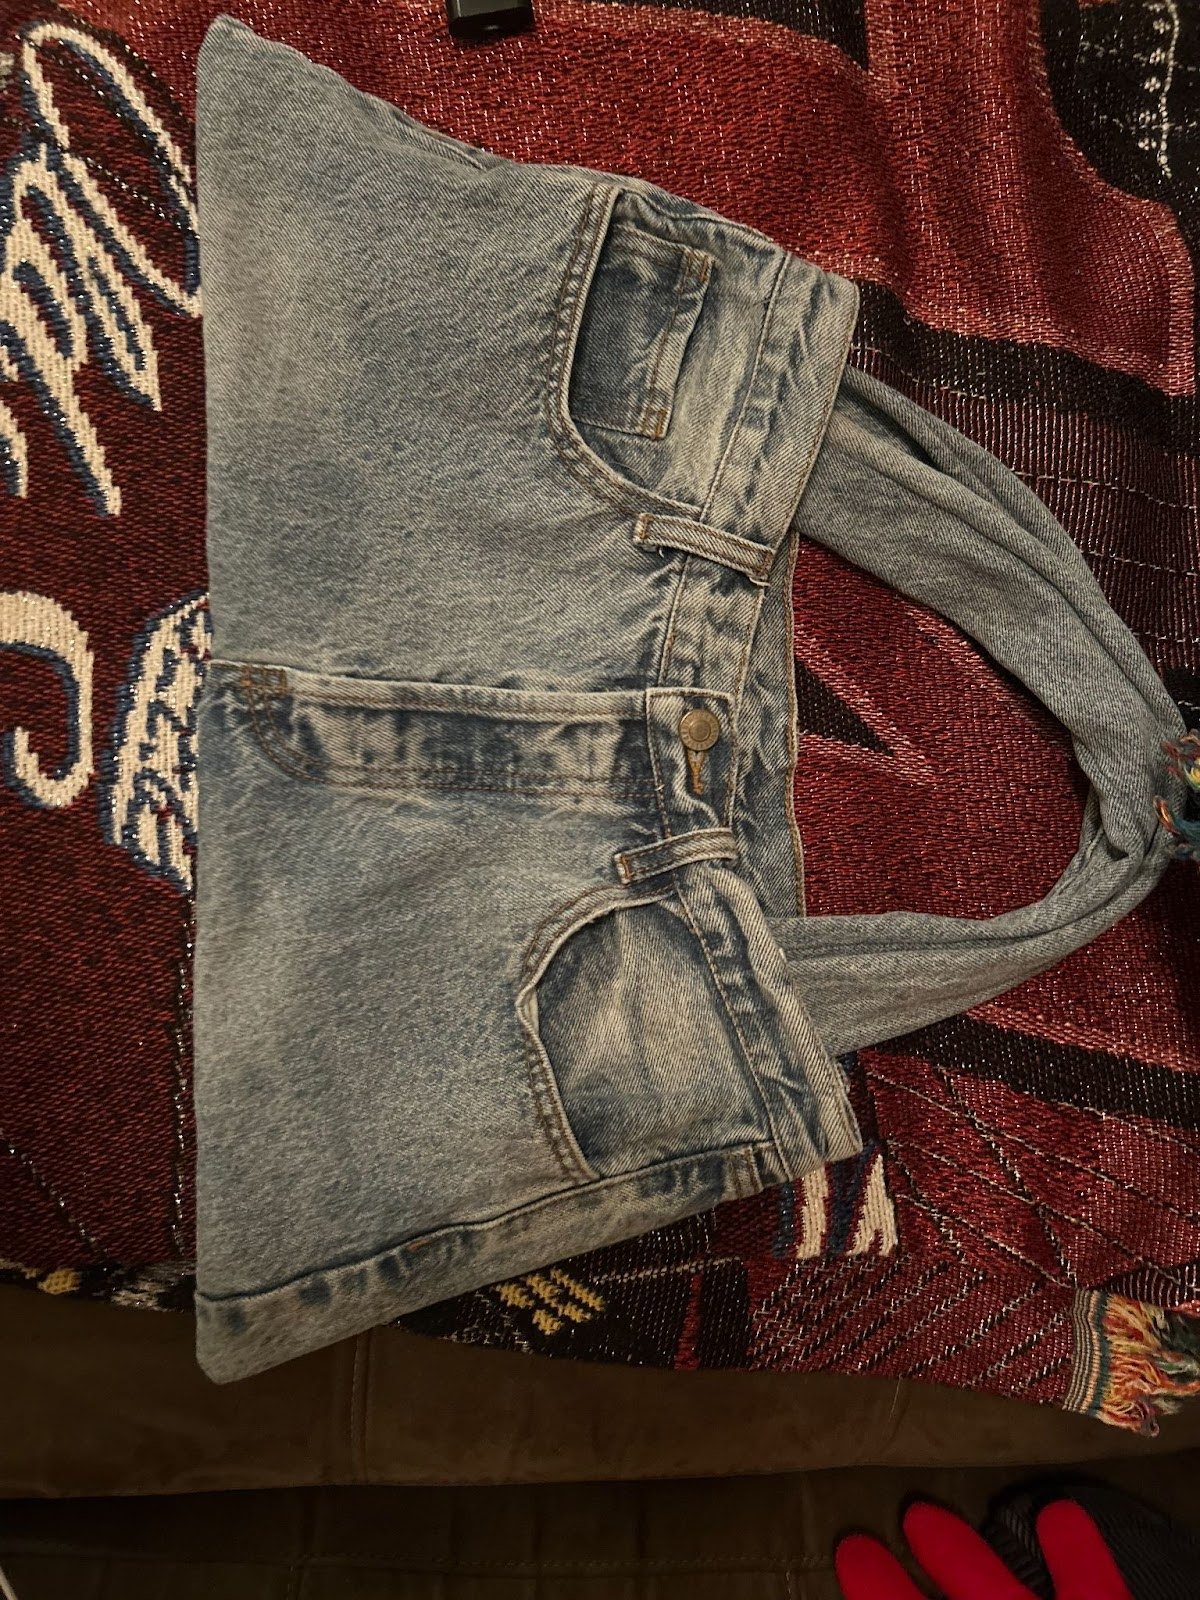
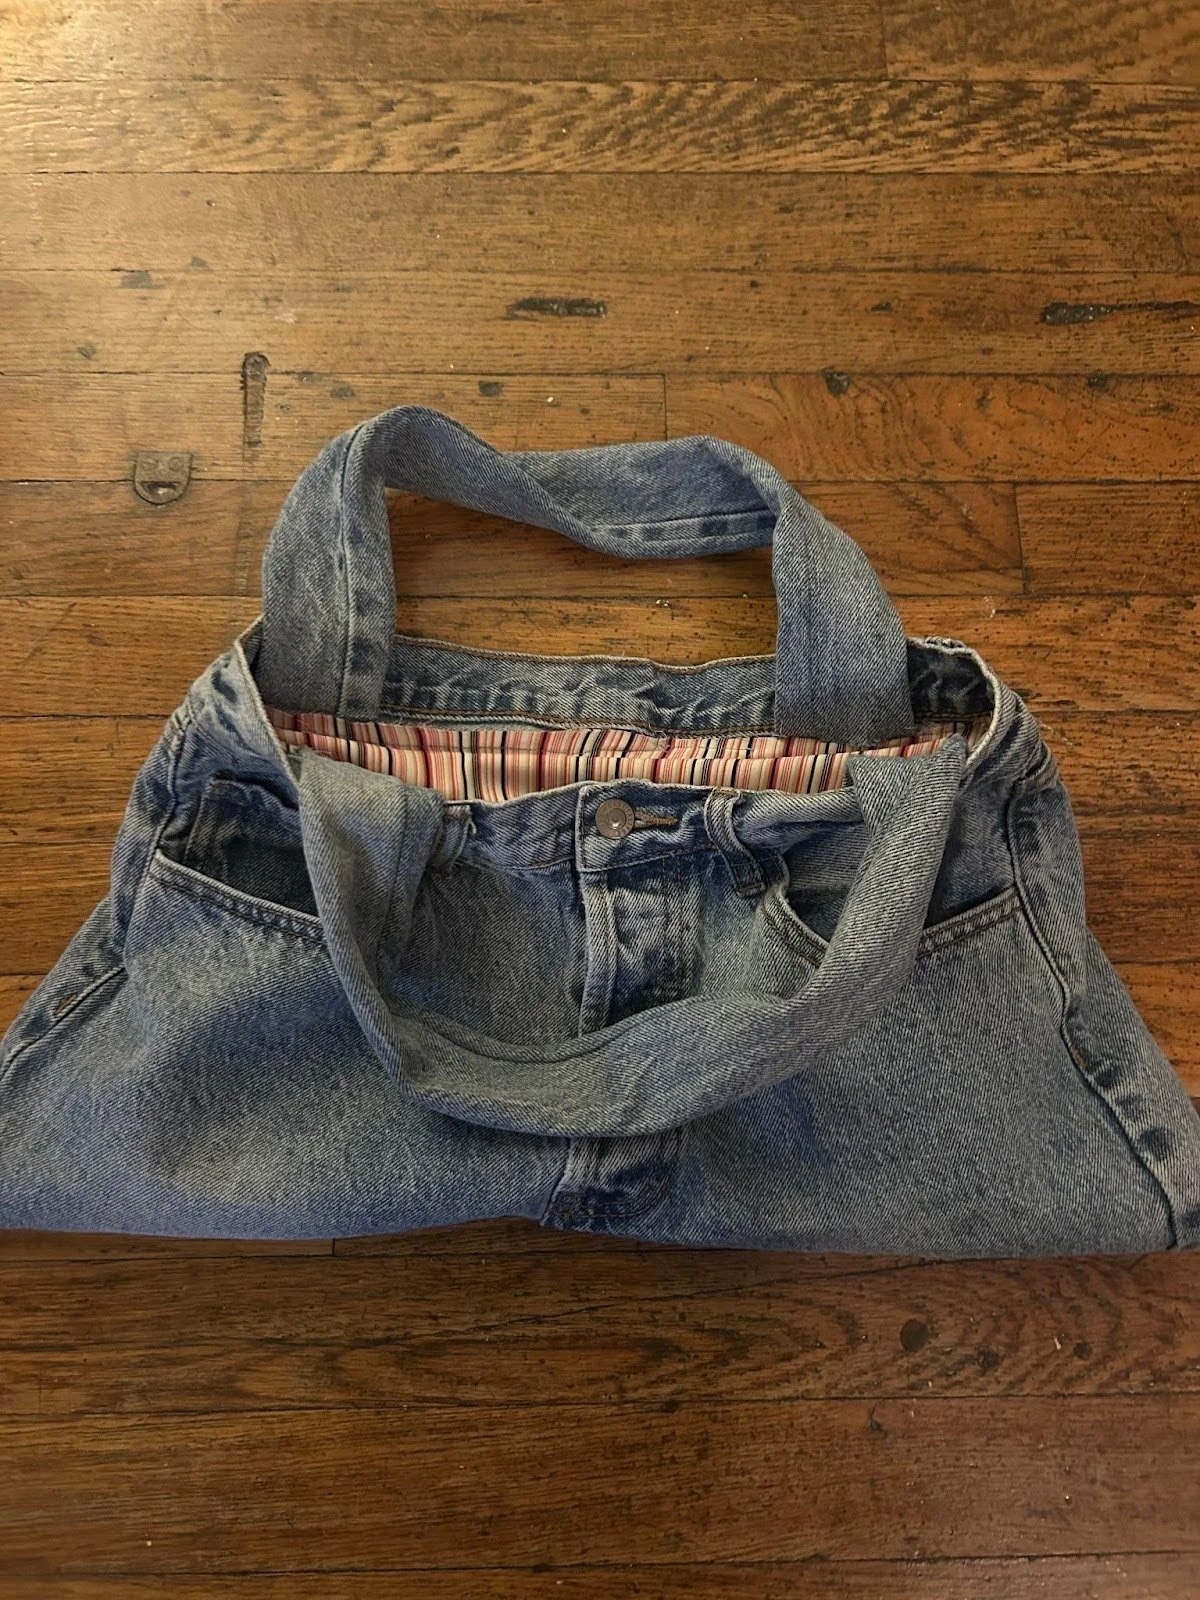
Step 1: The Bag
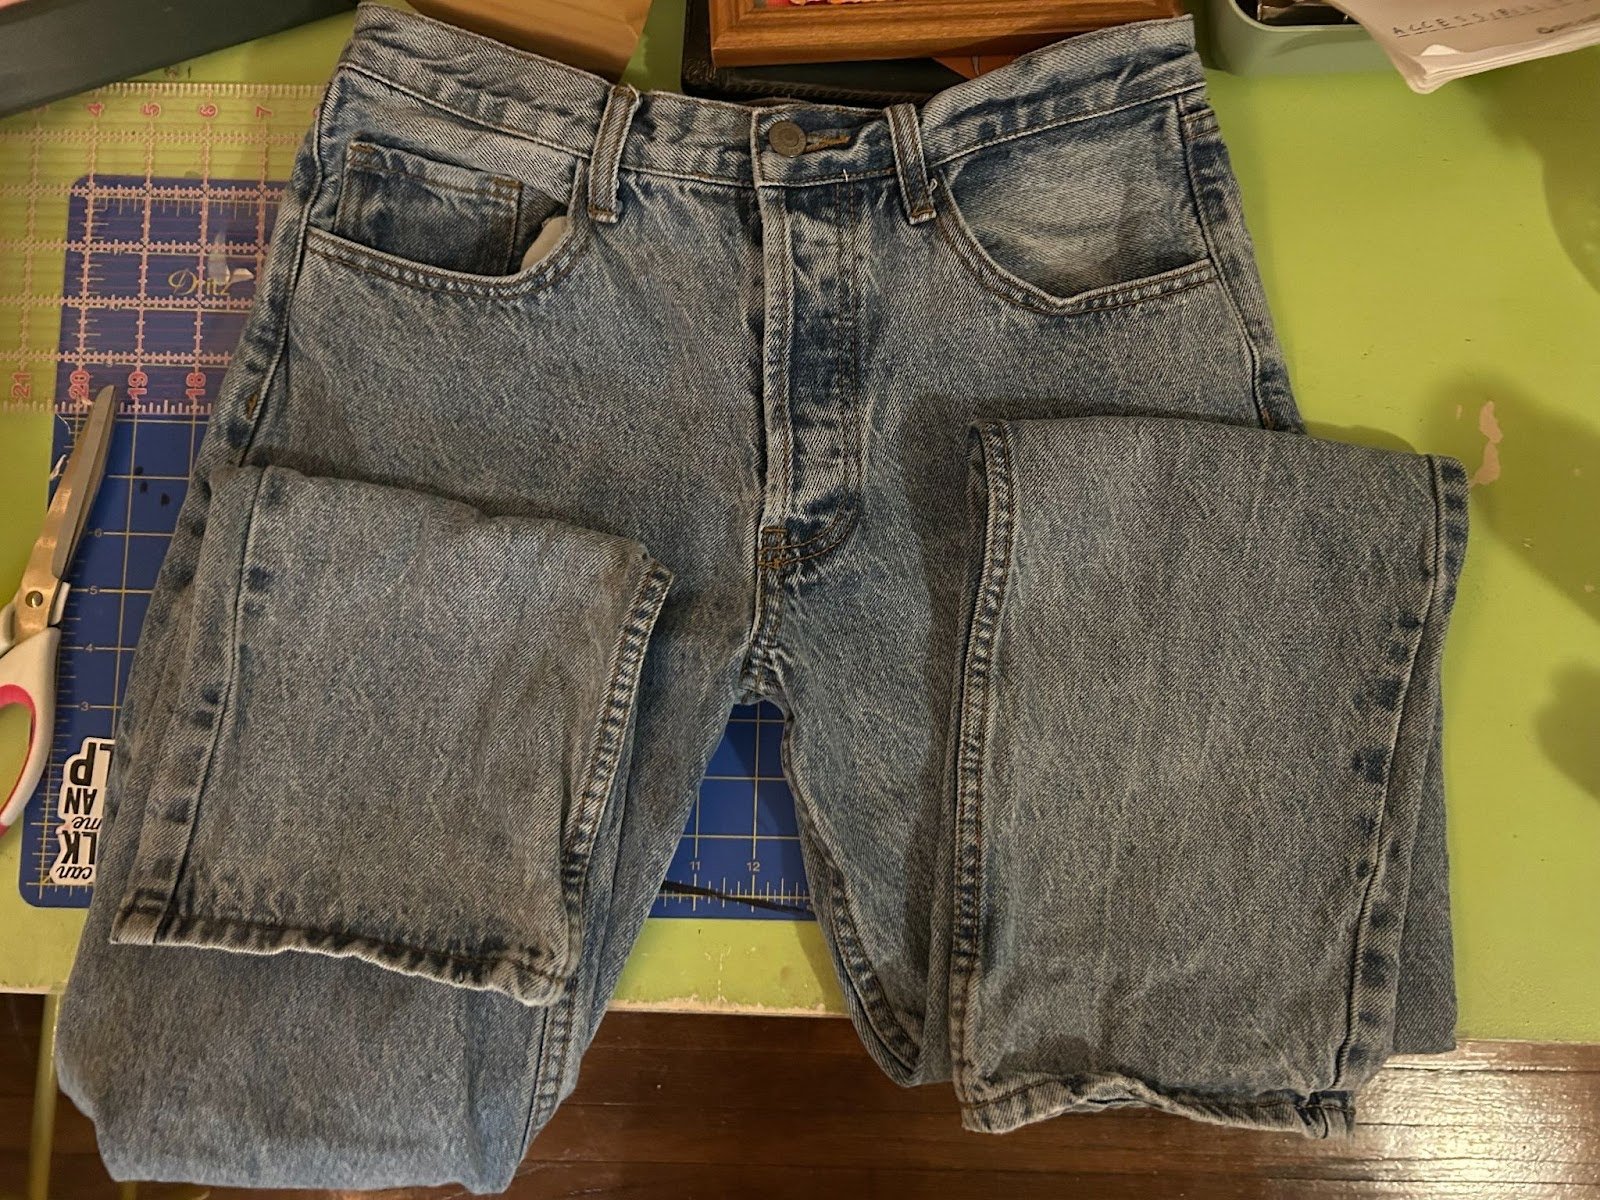
Turn your jeans inside out. Decide how deep you want your bag to be.
For most jeans, cutting just below the crotch seam works perfectly. Cut straight across both legs and set the legs aside, but don’t throw them out! We’ll use them later for straps.
You should now have just the top portion of the jeans, which will become the body of your bag.
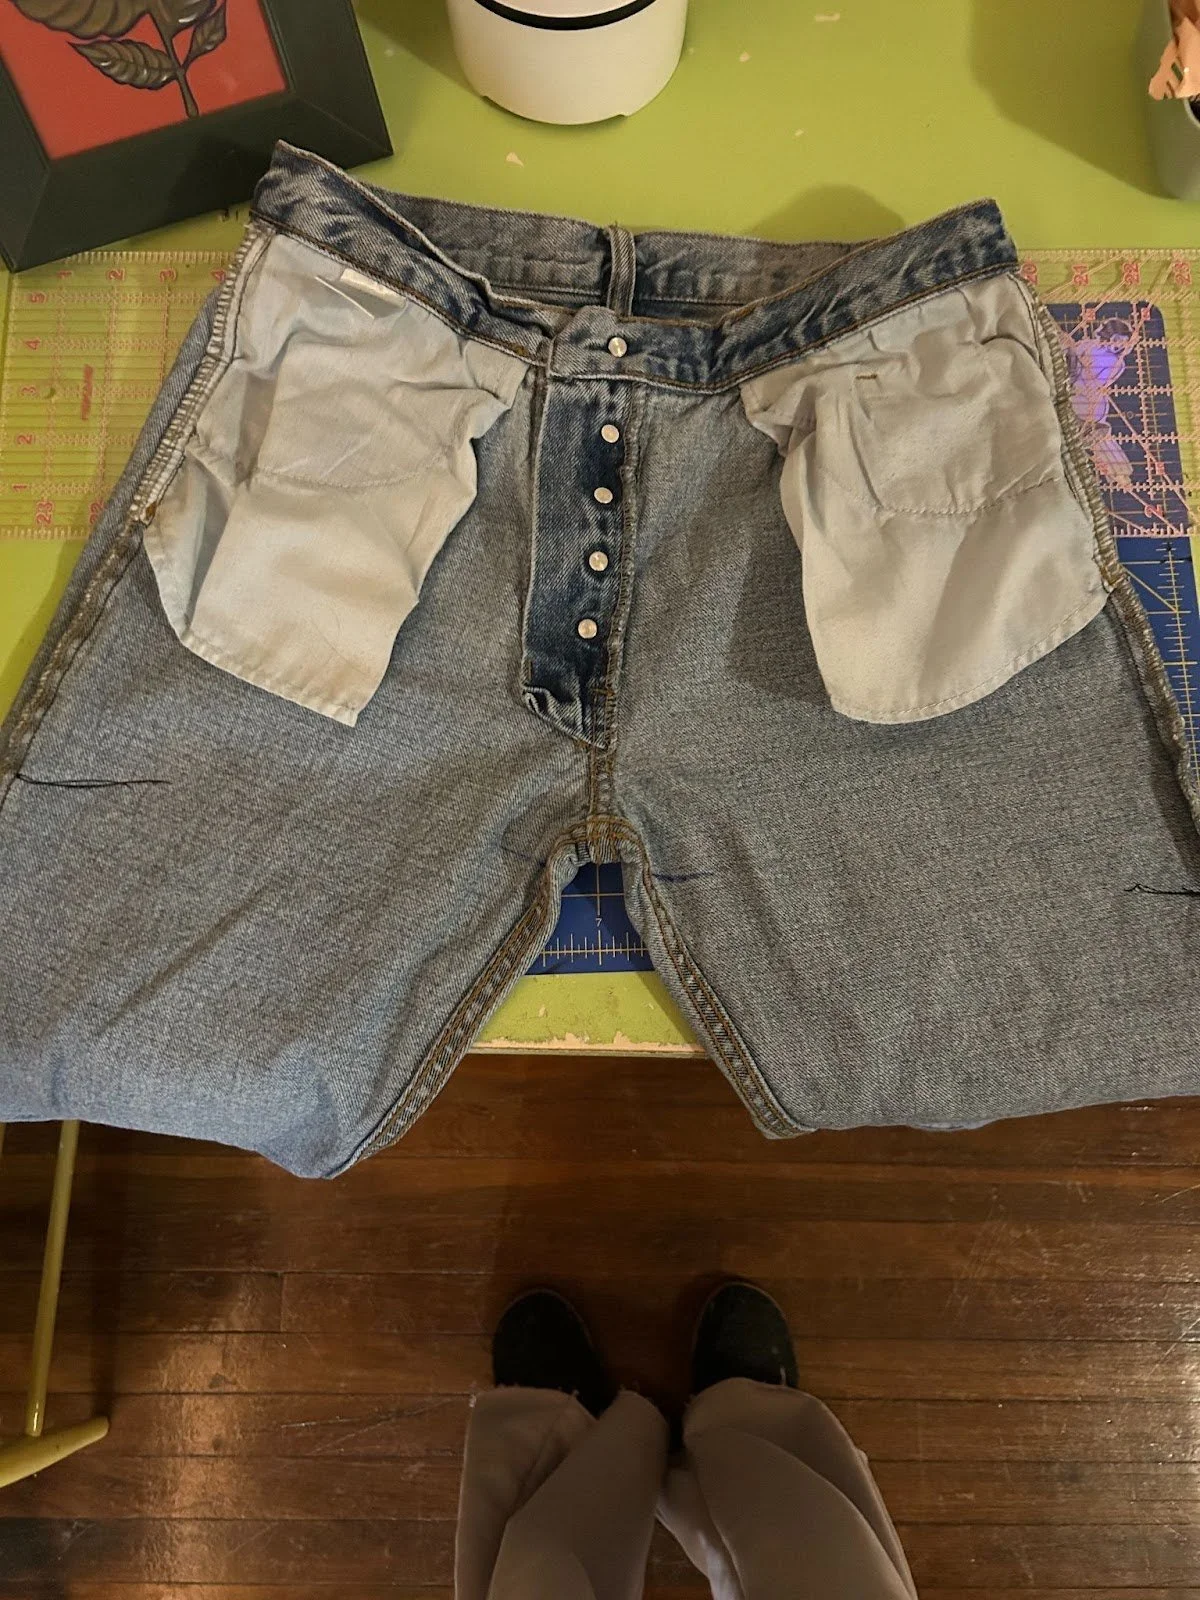
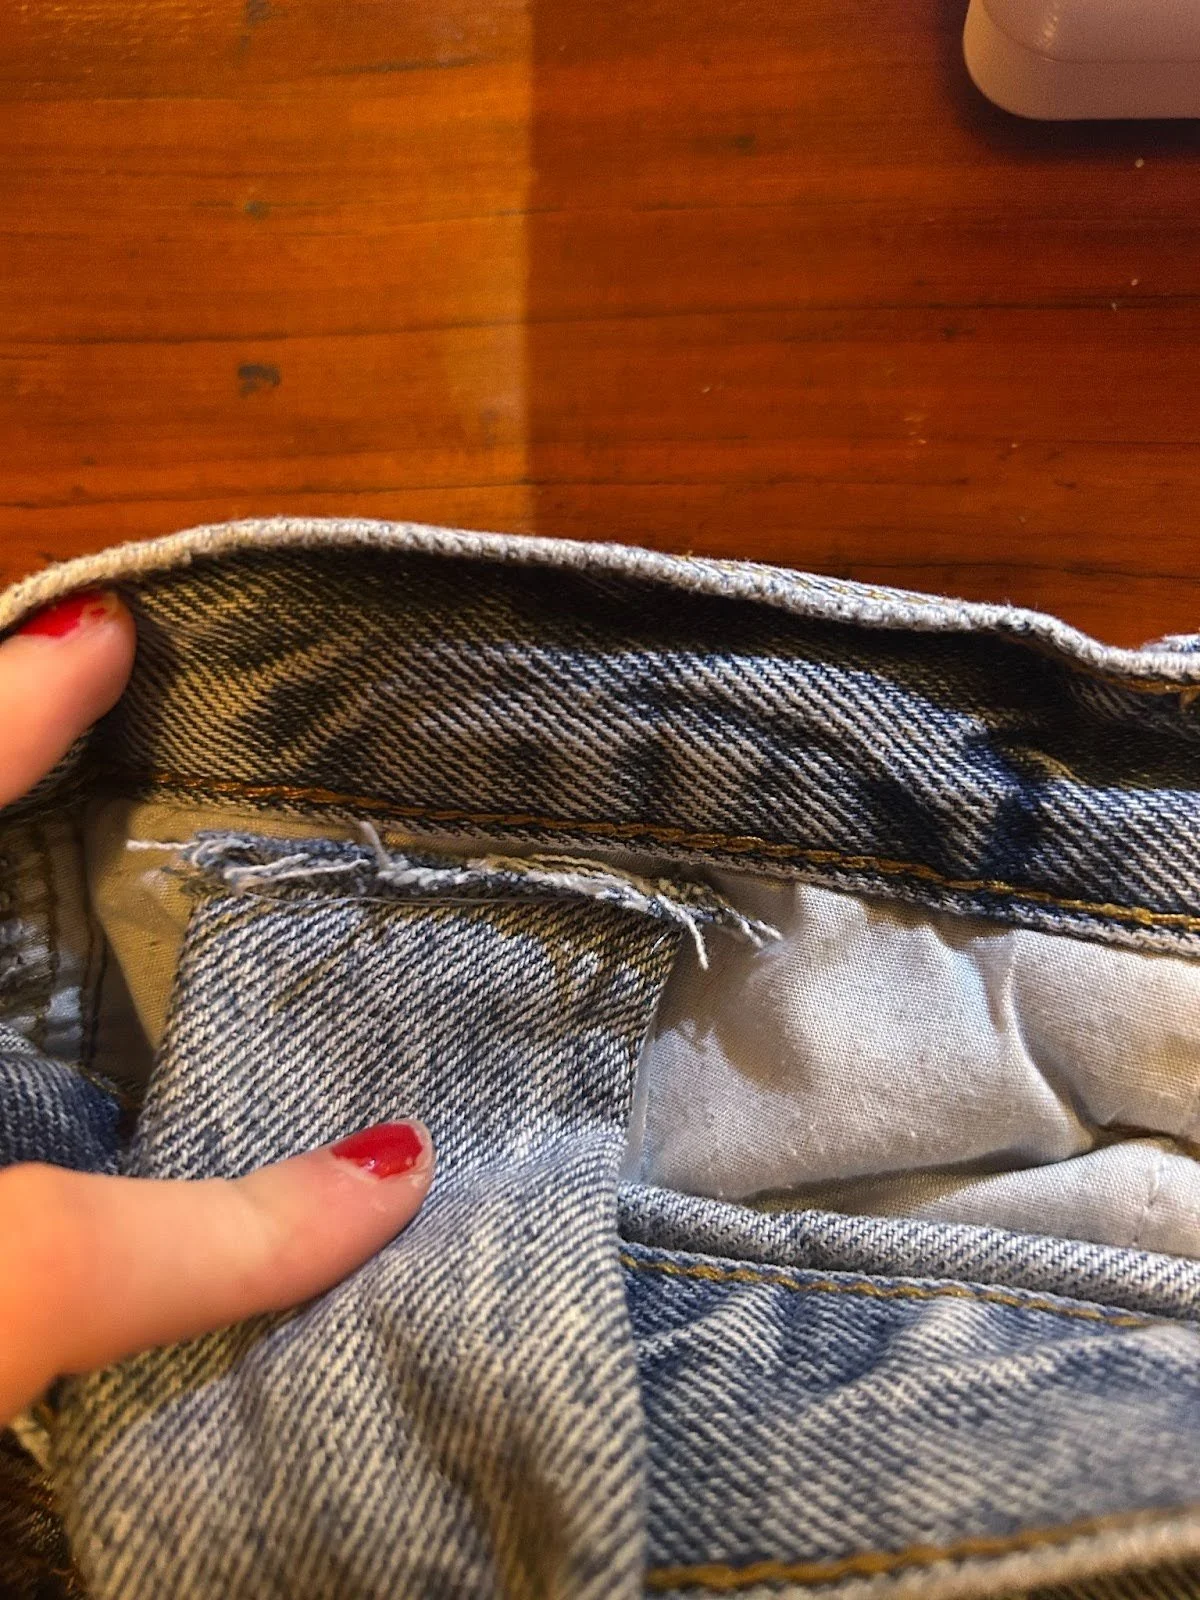
With the jeans still inside out, pin the bottom opening closed.

Sew straight across using the smallest seam allowance possible, and you’ve already built the main structure of your bag!
Step 2: The Straps
Take the denim legs you saved and turn them inside out.
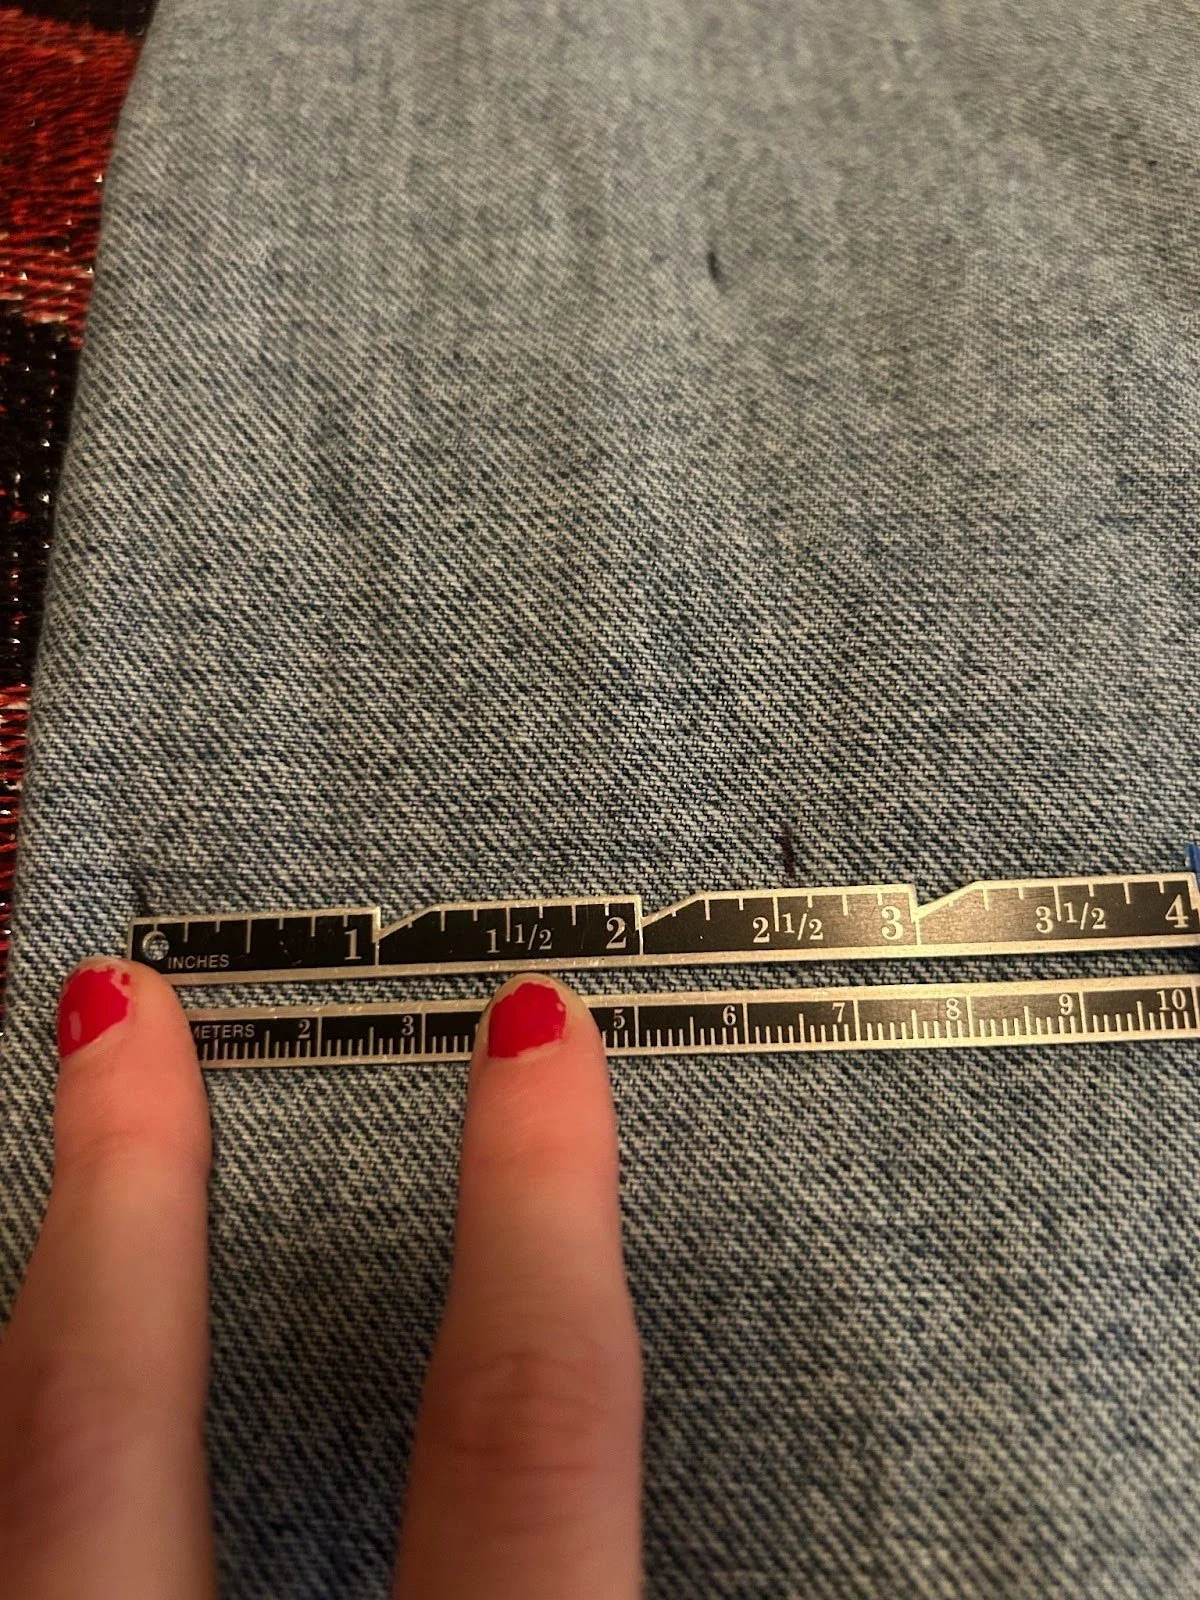
Measure and cut strips about 2½ inches wide and roughly 15 inches long. Each strap will need two strips of fabric, so be sure to cut the fabric so you have both sides of the strap.
Repeat this step twice to get both straps for your bag.
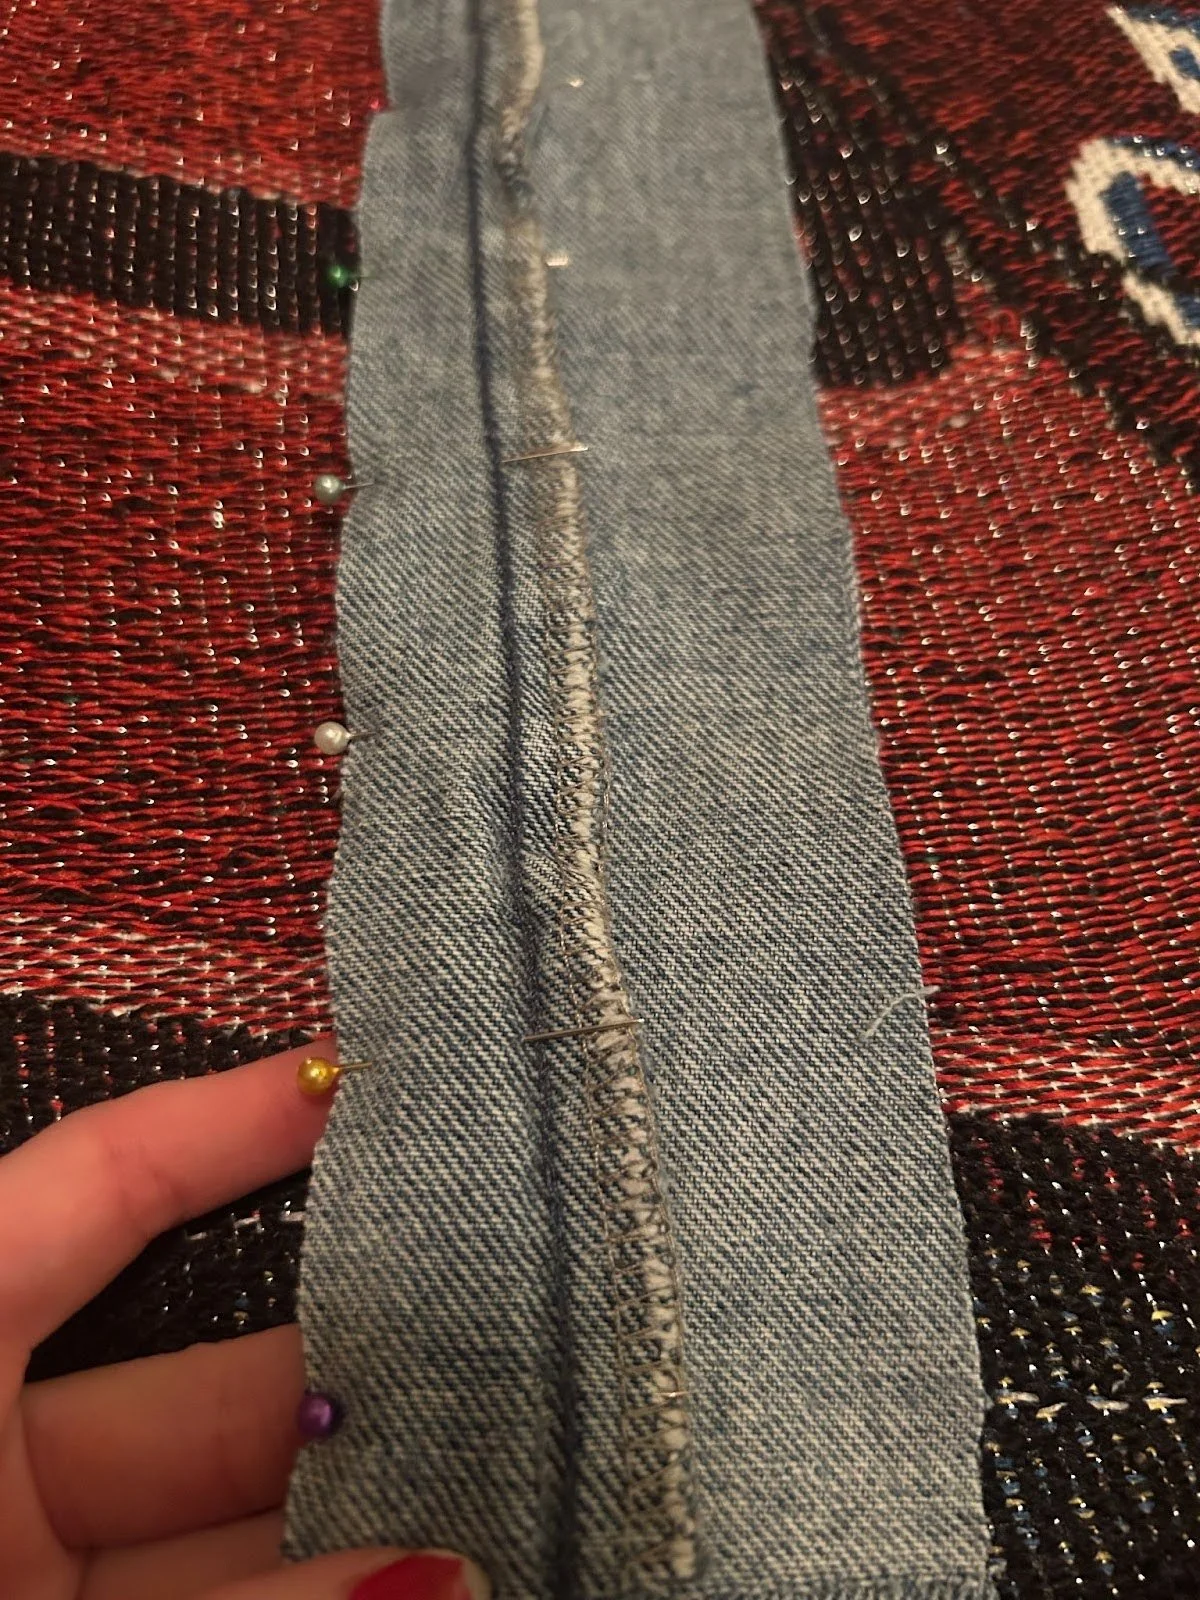
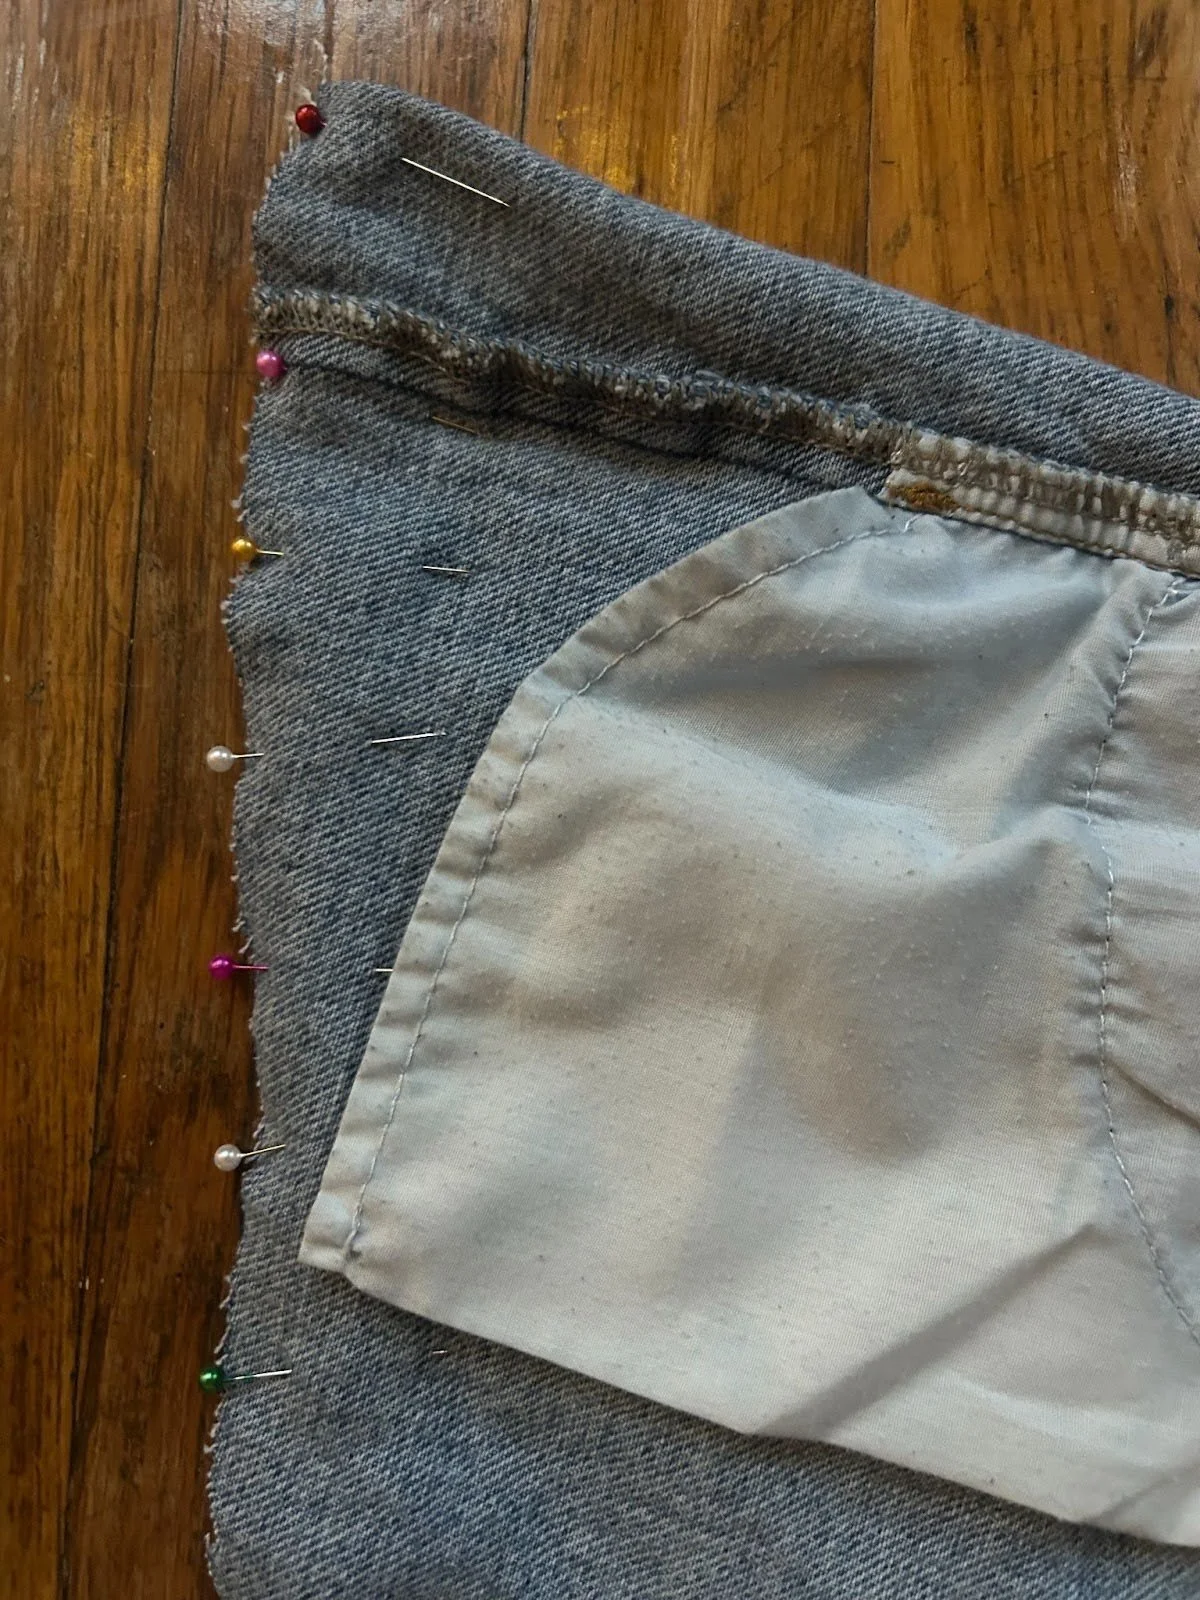
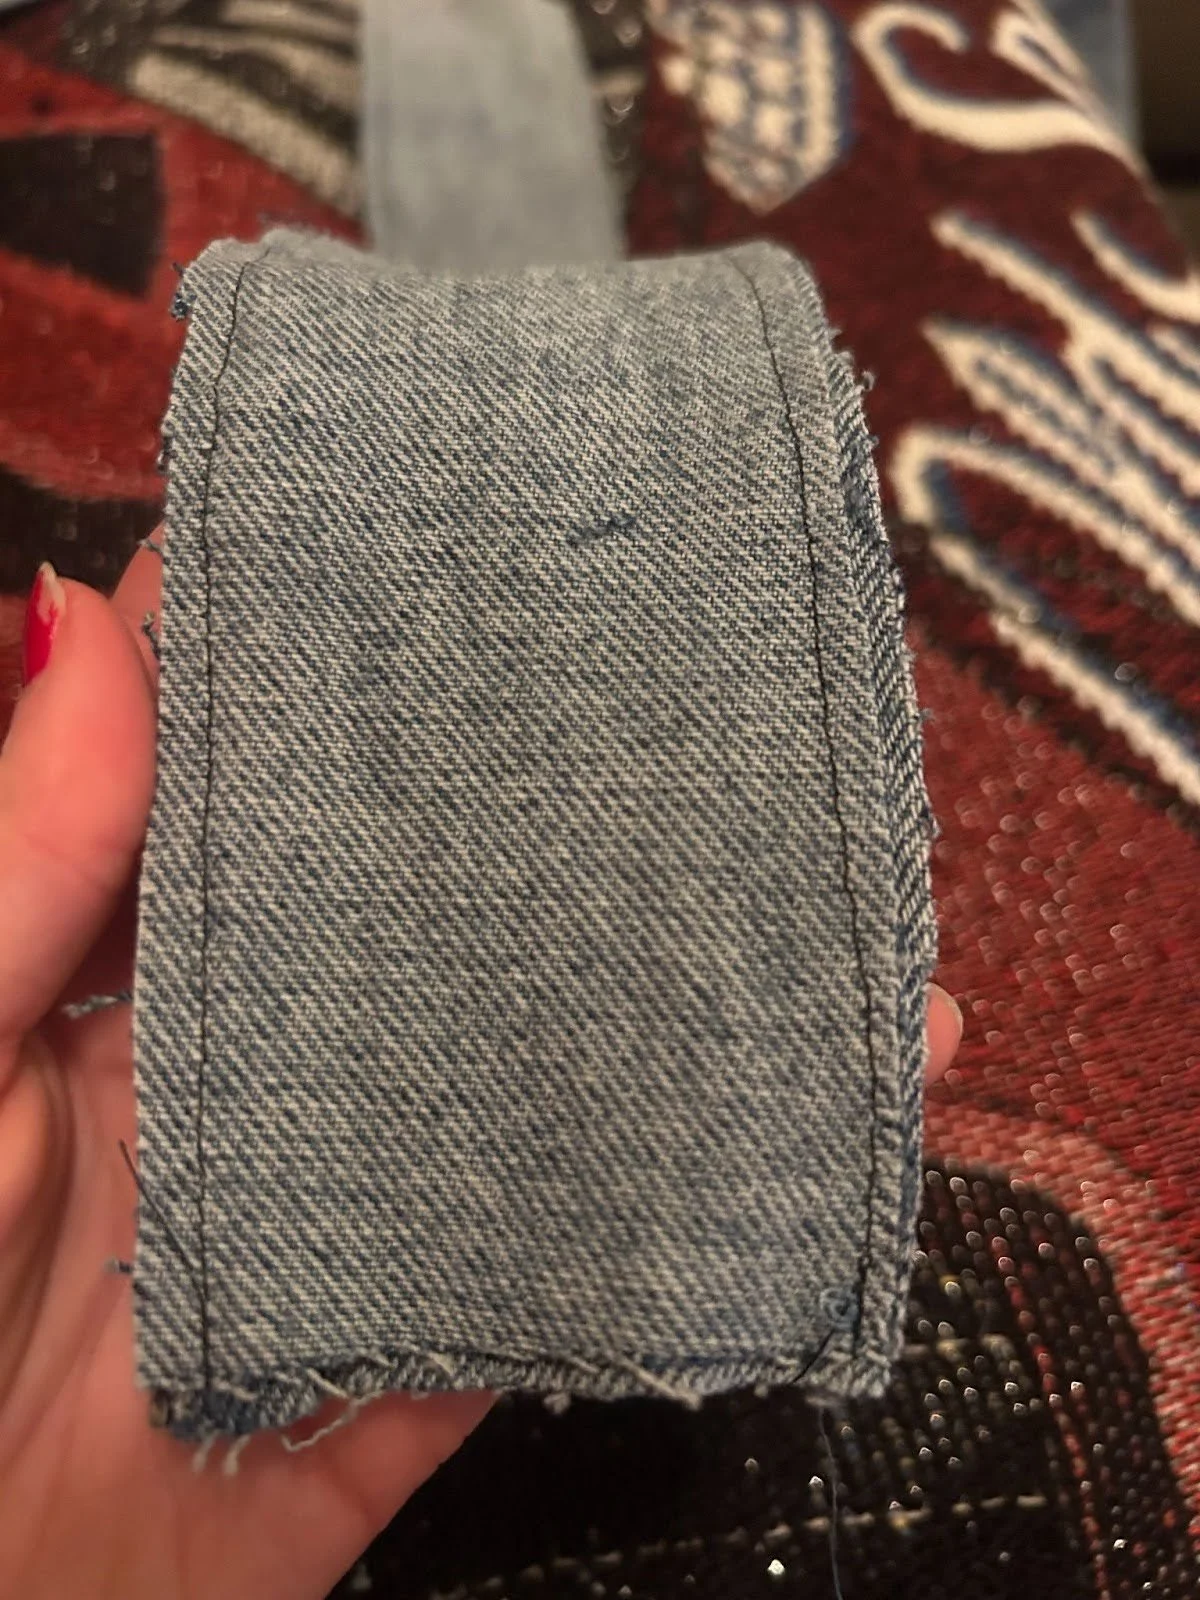
Pin the long sides of each strip together and sew along the edges, leaving both ends open. This will allow you to turn the straps right side out once they’re sewn. After turning them, press them flat if needed.
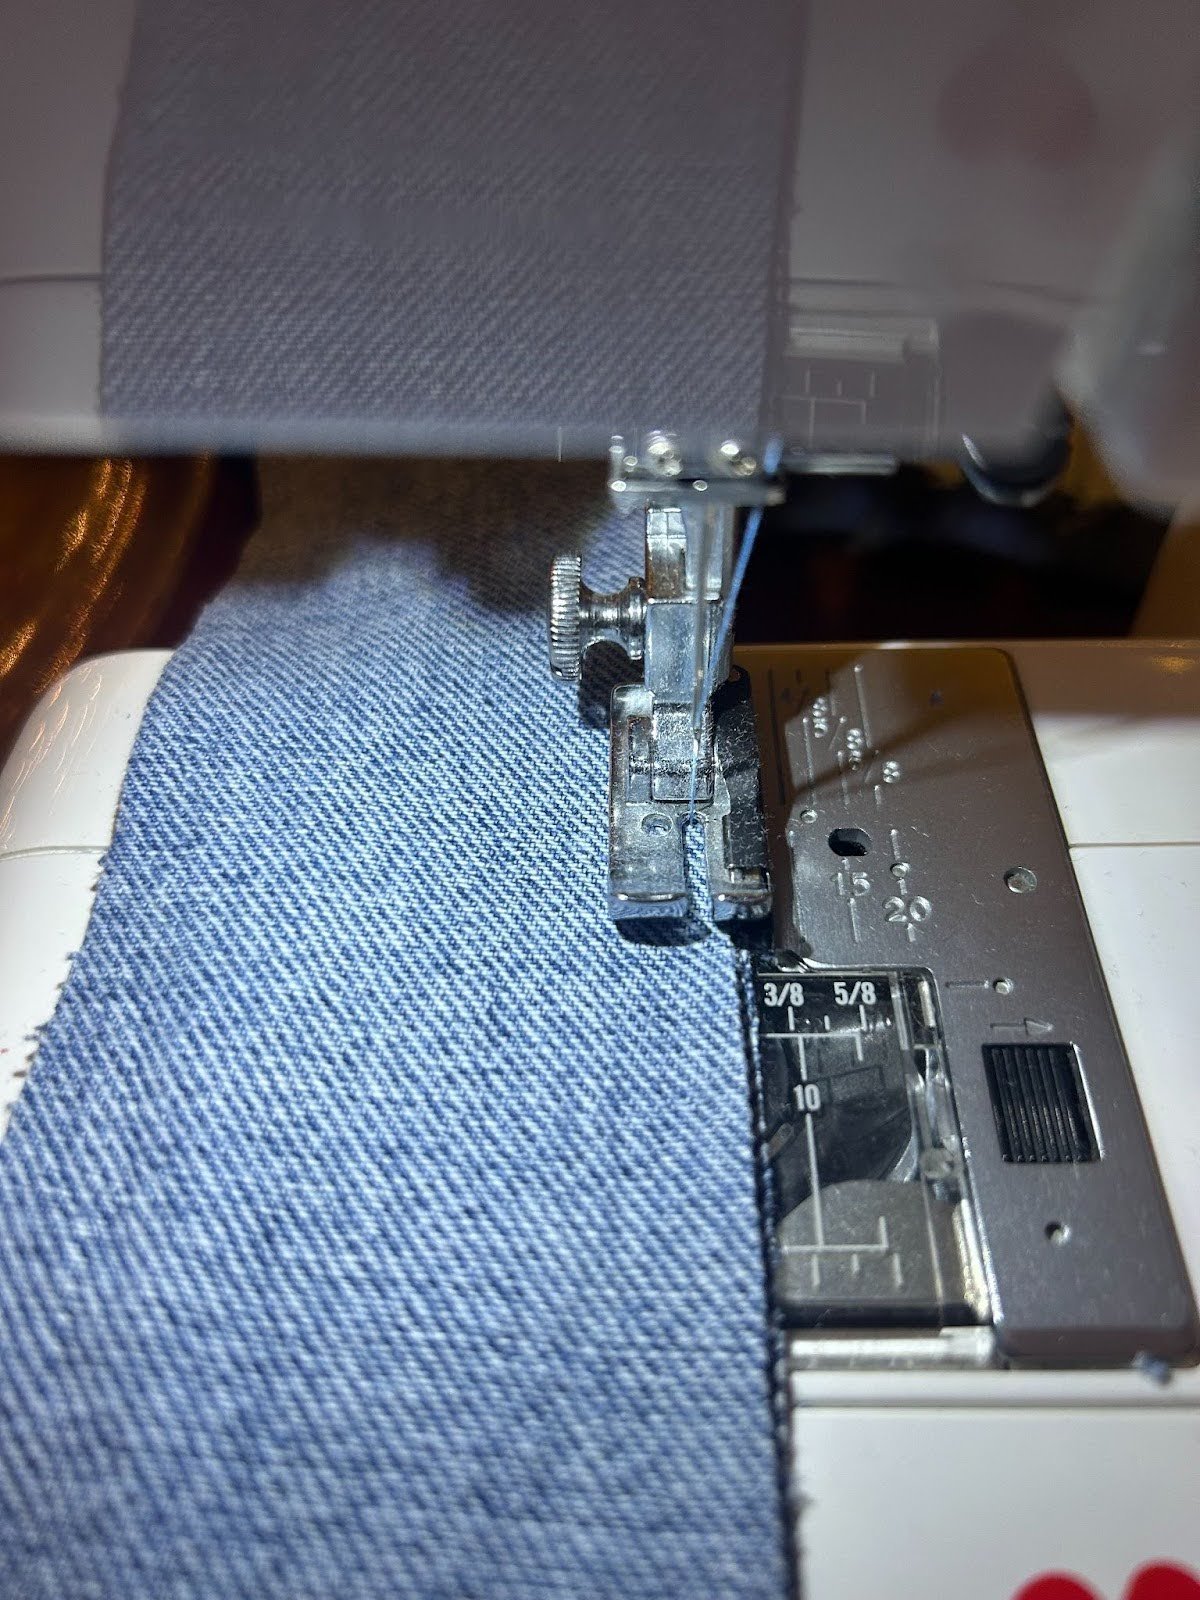
To attach the straps, keep the denim bag inside out and pin the straps facing downward along the front and back of the bag.
This placement helps hide the seam once the straps are flipped up for use. We recommend attaching them just above the middle of the front pockets for balance. Sew them securely in place, then flip the bag right side out.

At this point, your jeans officially look like a bag! You can stop here, but adding a lining gives the bag a more polished finish and helps it hold its shape.
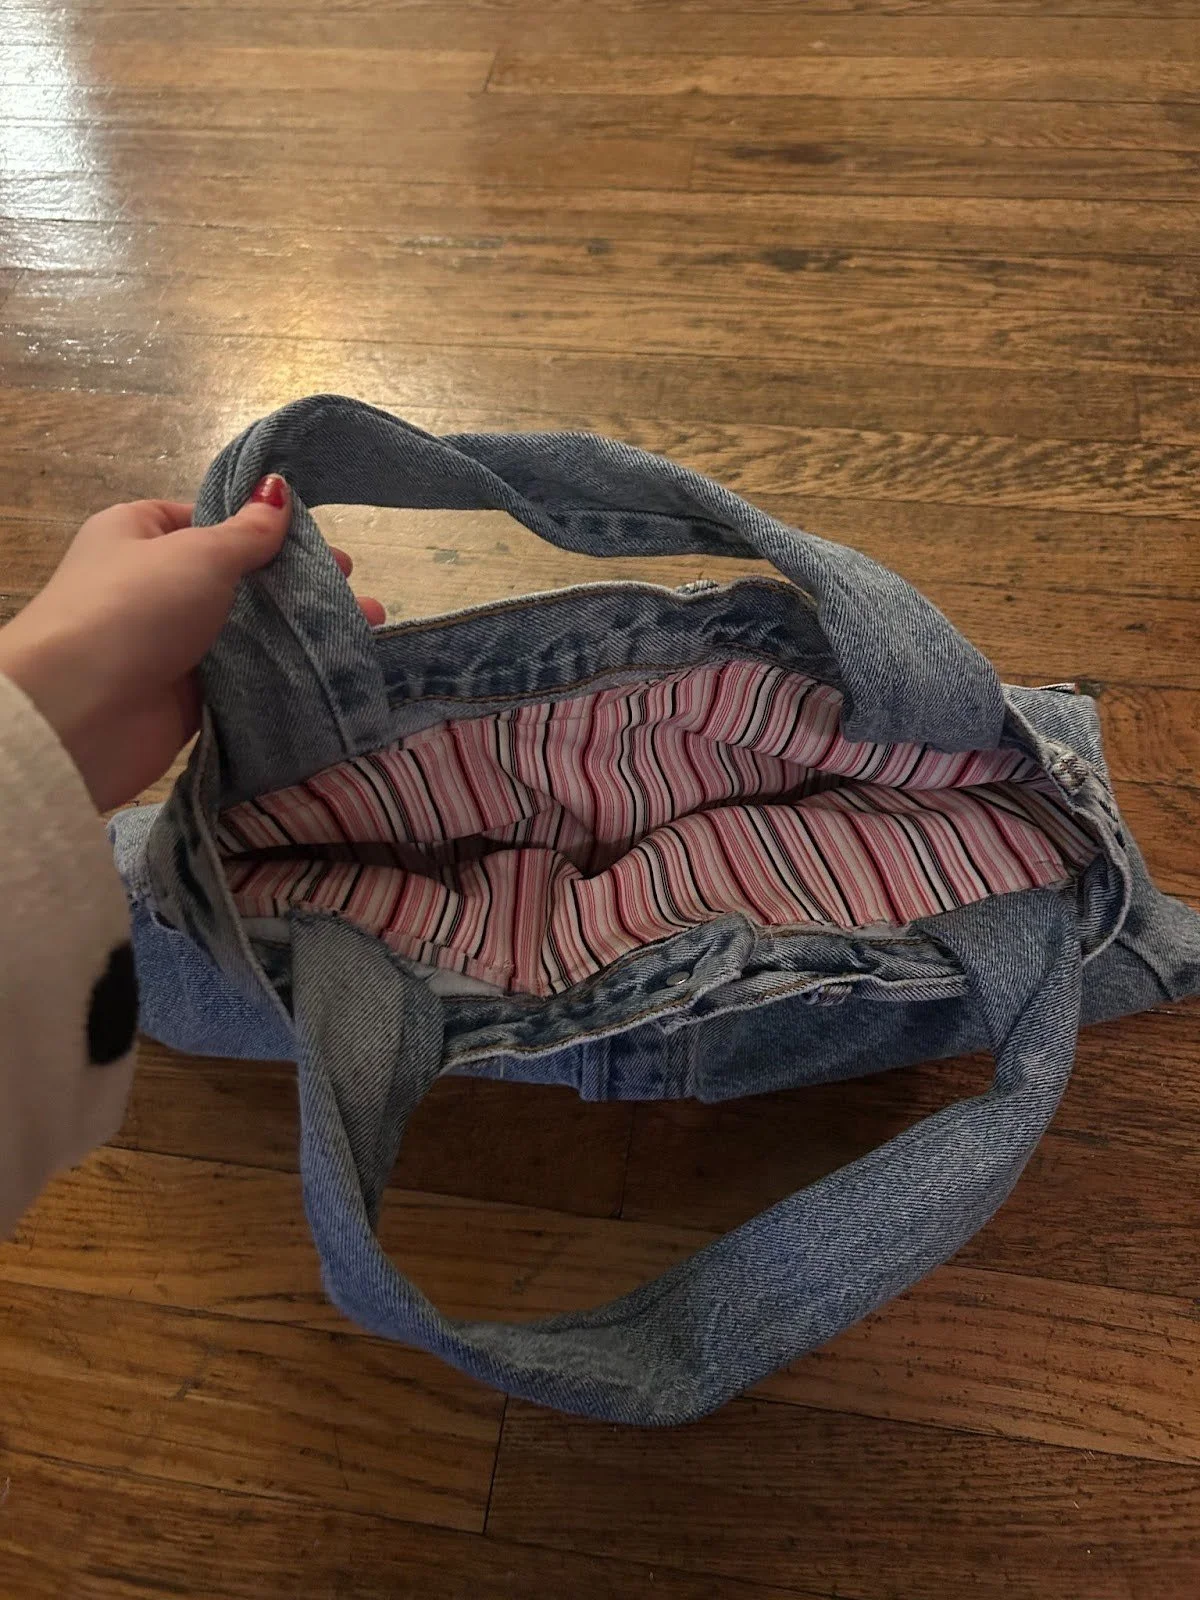
Step 3: The Lining
Since I got so excited doing this project, I forgot to take pictures of every step. This is the shirt I used for the lining (or what was left of it after I cut it up).
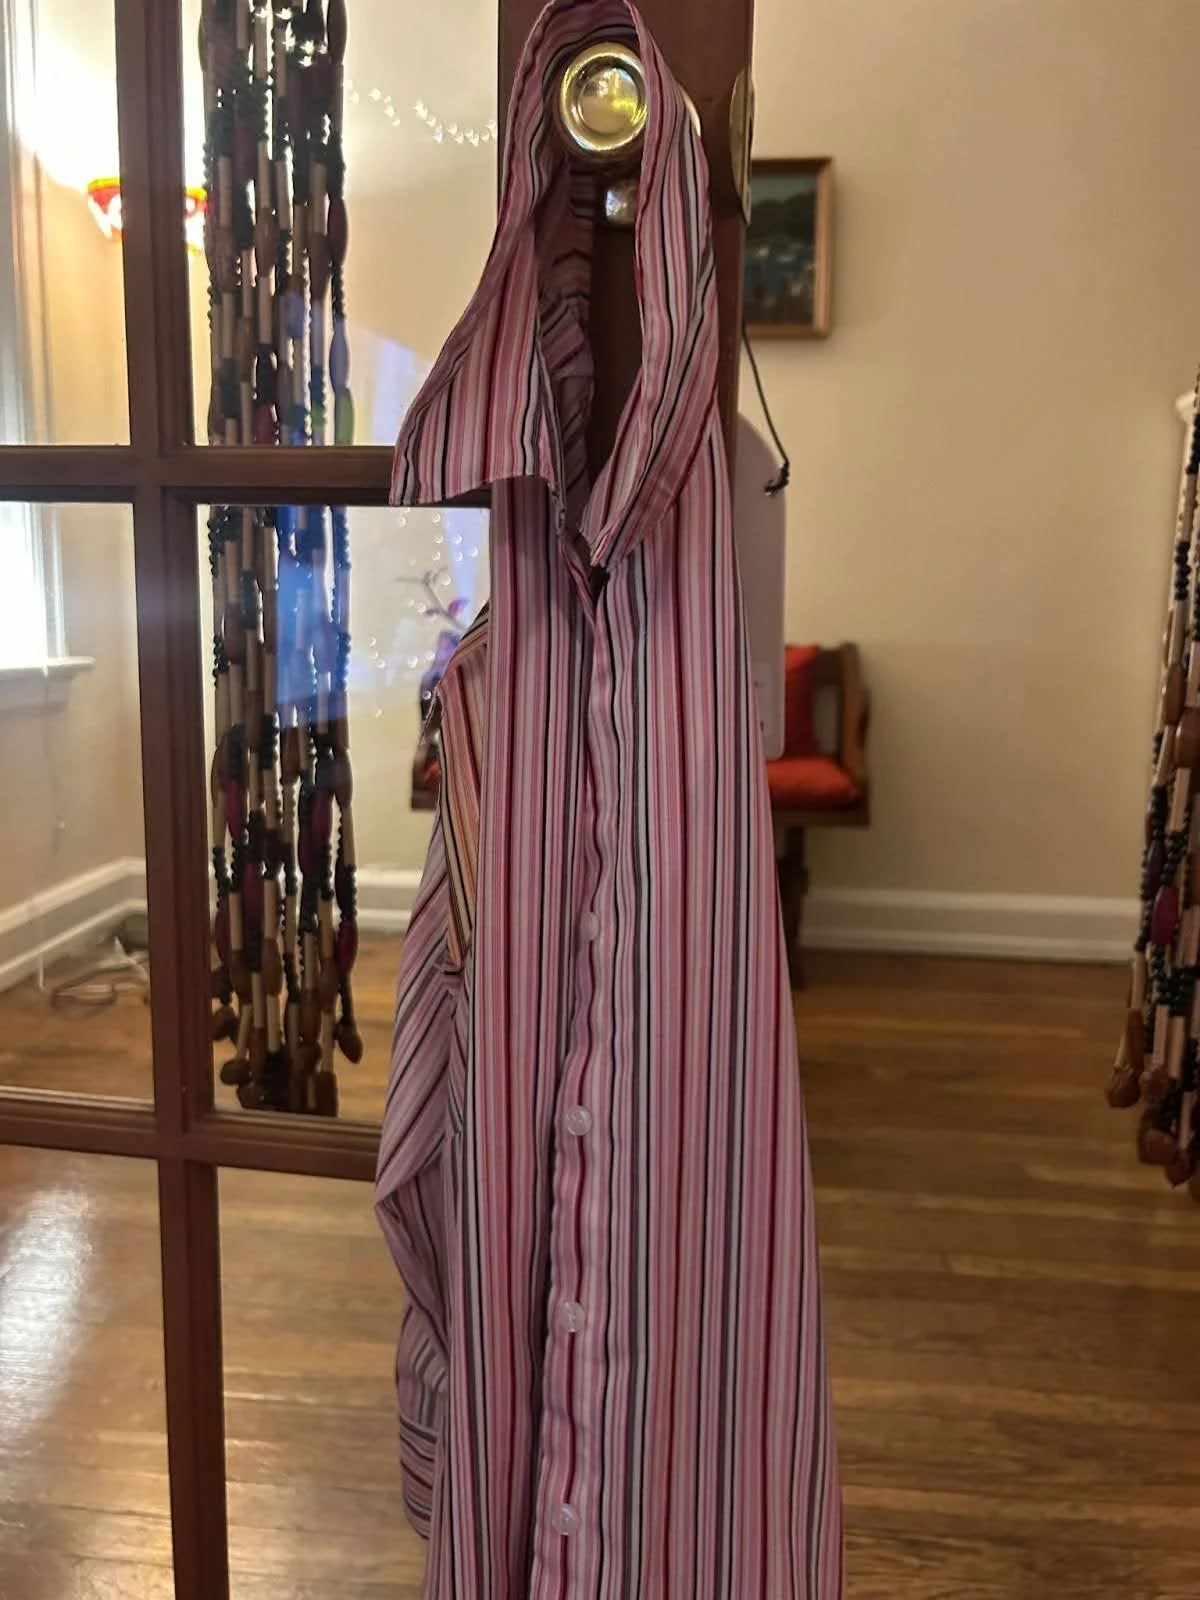
To create the lining, take an old button-up shirt and unbutton it completely. Fold the fabric horizontally and lay your denim bag on top as a guide.
Cut the shirt fabric in the shape of the bag, leaving a little extra room around the edges so you don’t lose interior space. Once you have the fabric from the shirt it should have a shape similar to this when it is completely open flat….
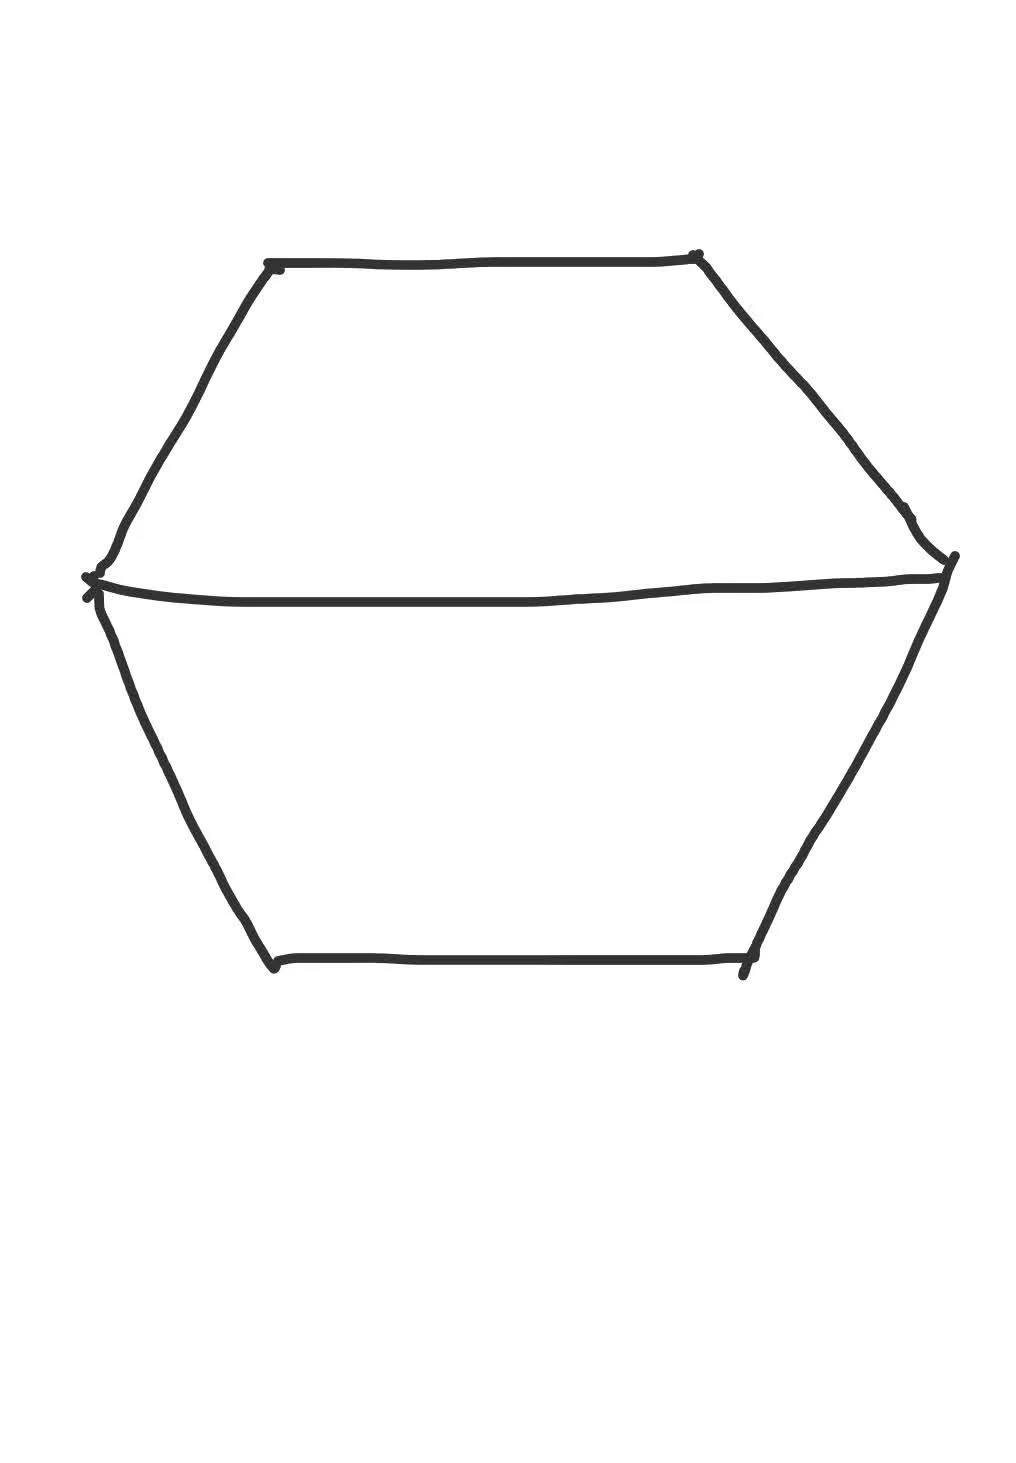
The middle line of the shape is the fold. With the lining fabric wrong side out, sew the sides together, leaving the top open. Turn the lining right side out through the top opening.
Turn your denim bag inside out again and place it inside the lining so the wrong sides are facing each other. Pin along the top edge and sew all the way around. Once the seam is complete, flip everything right side out.
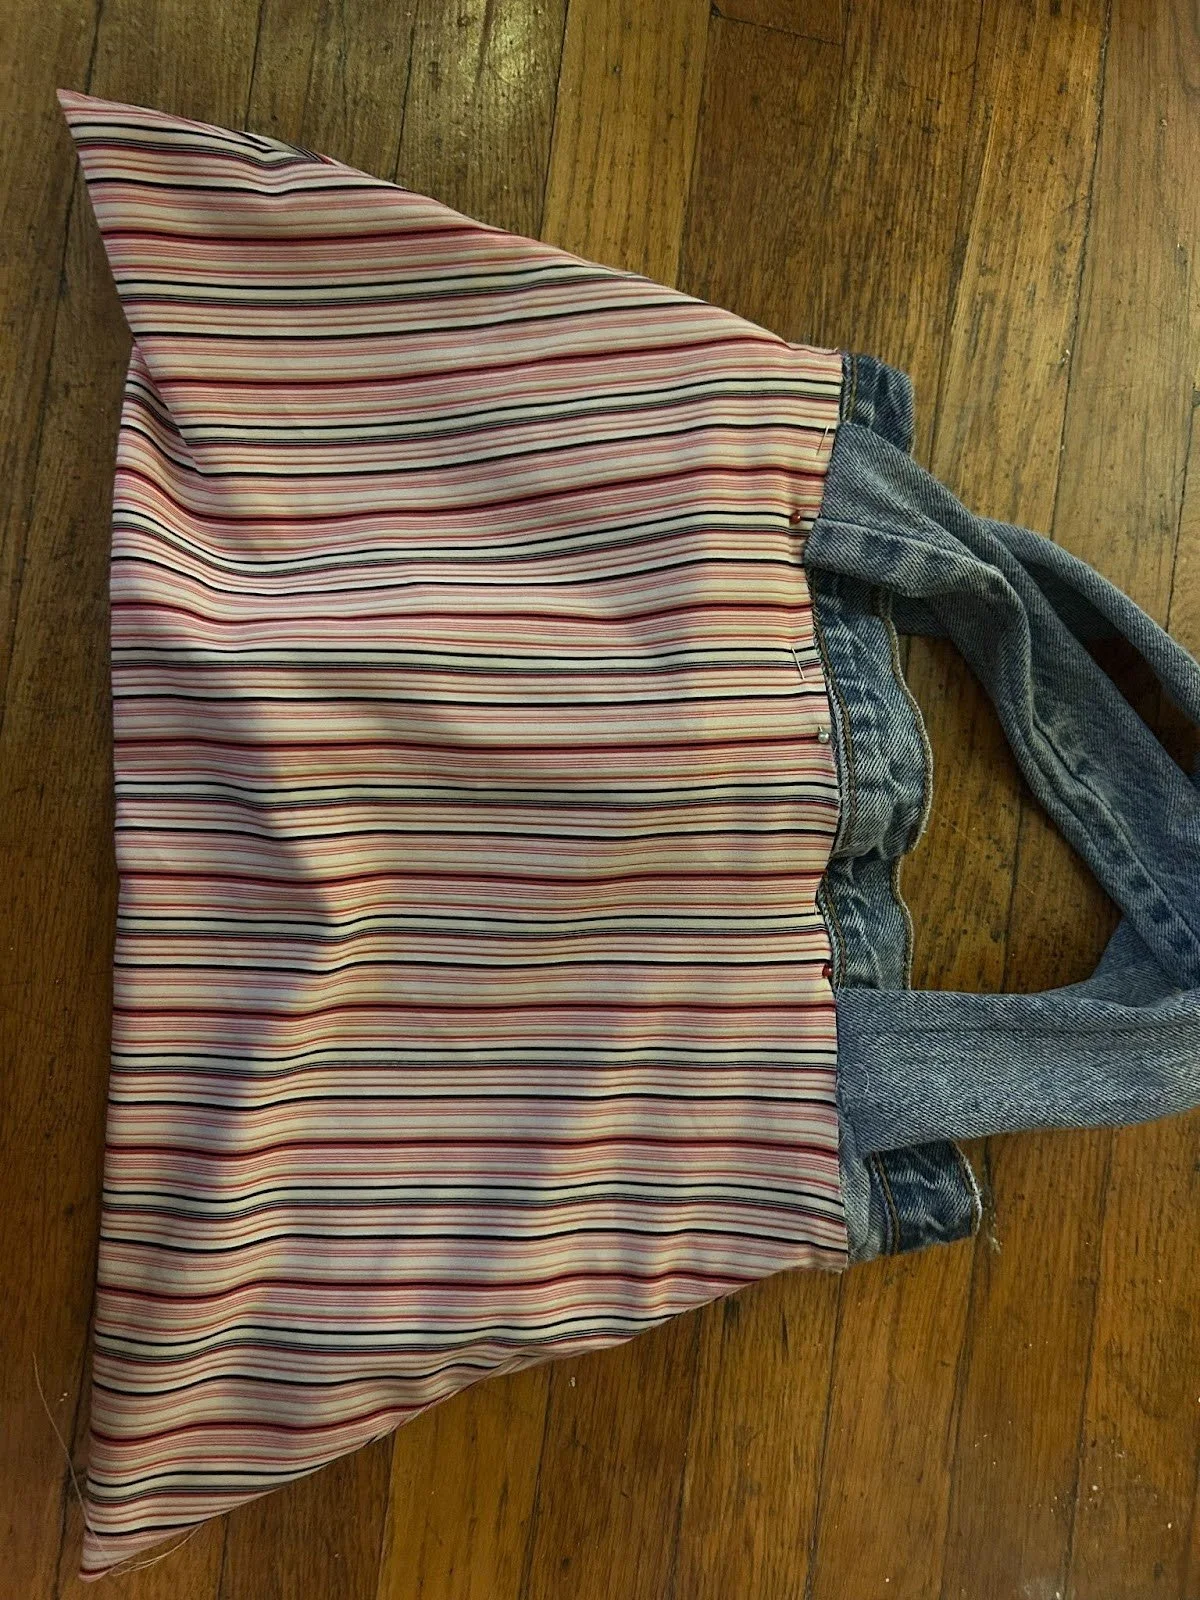
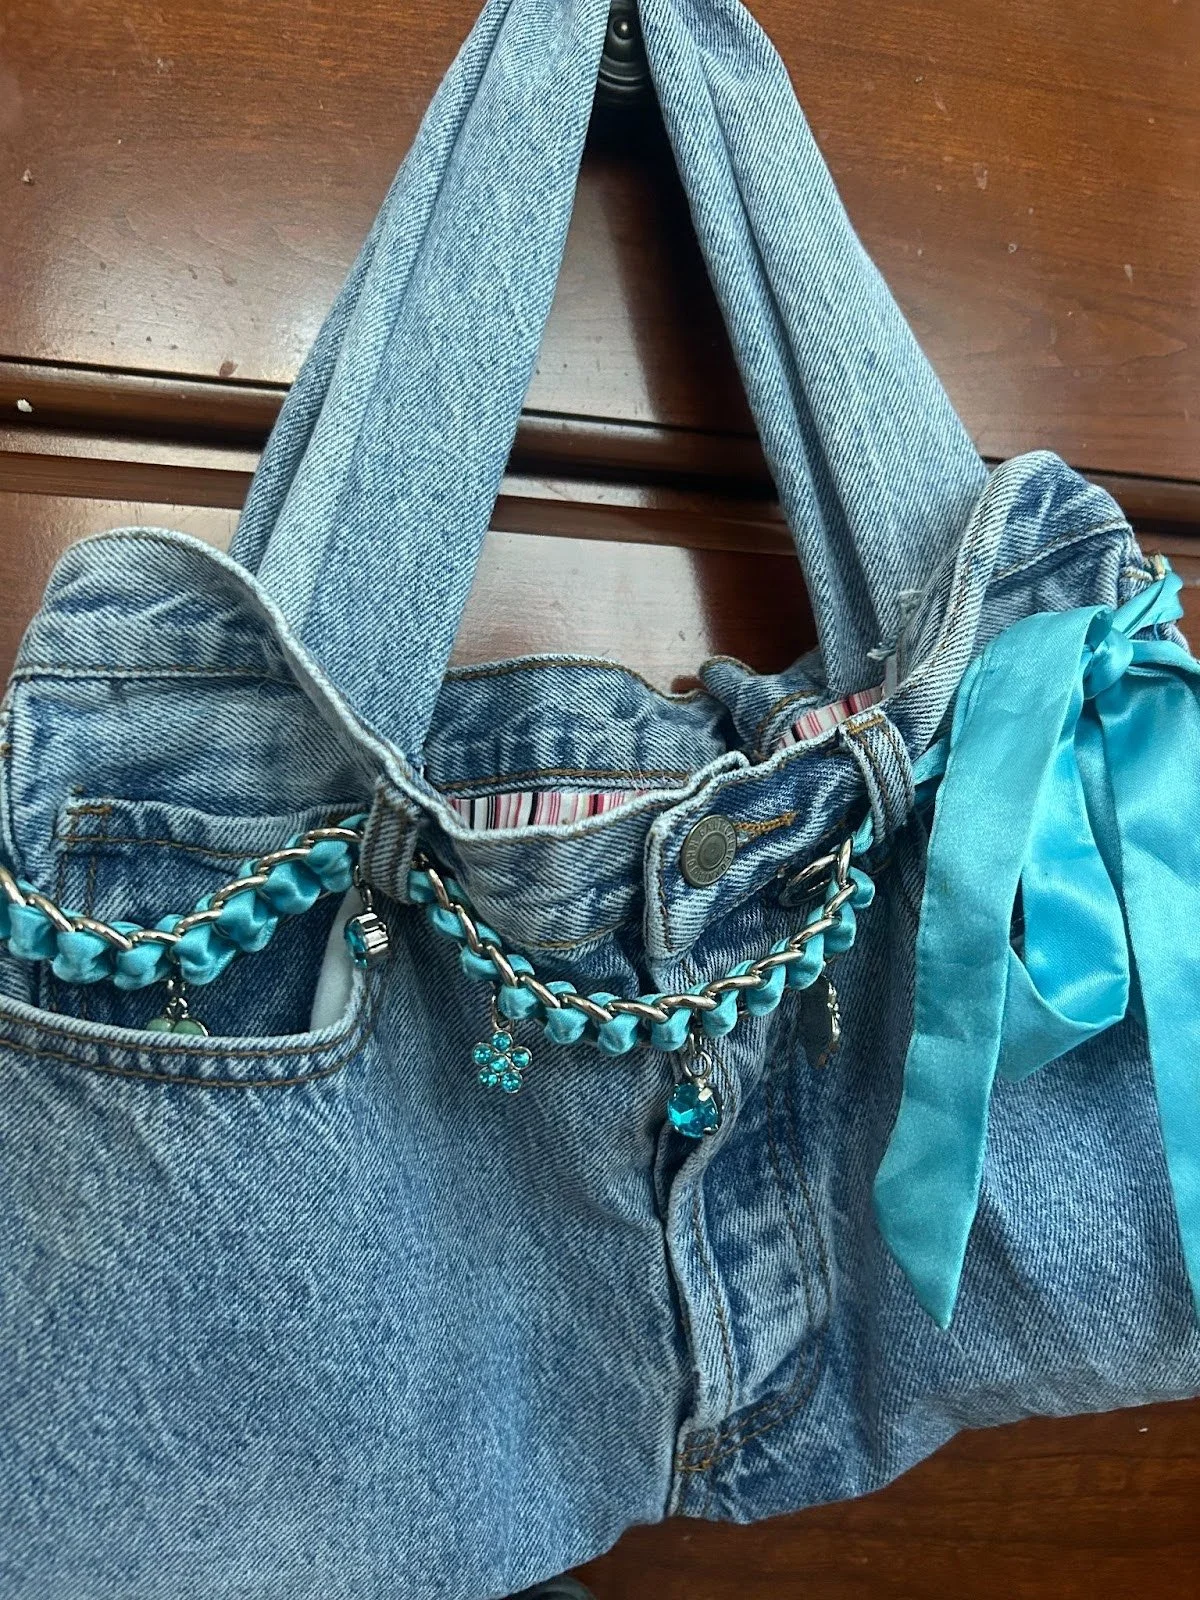
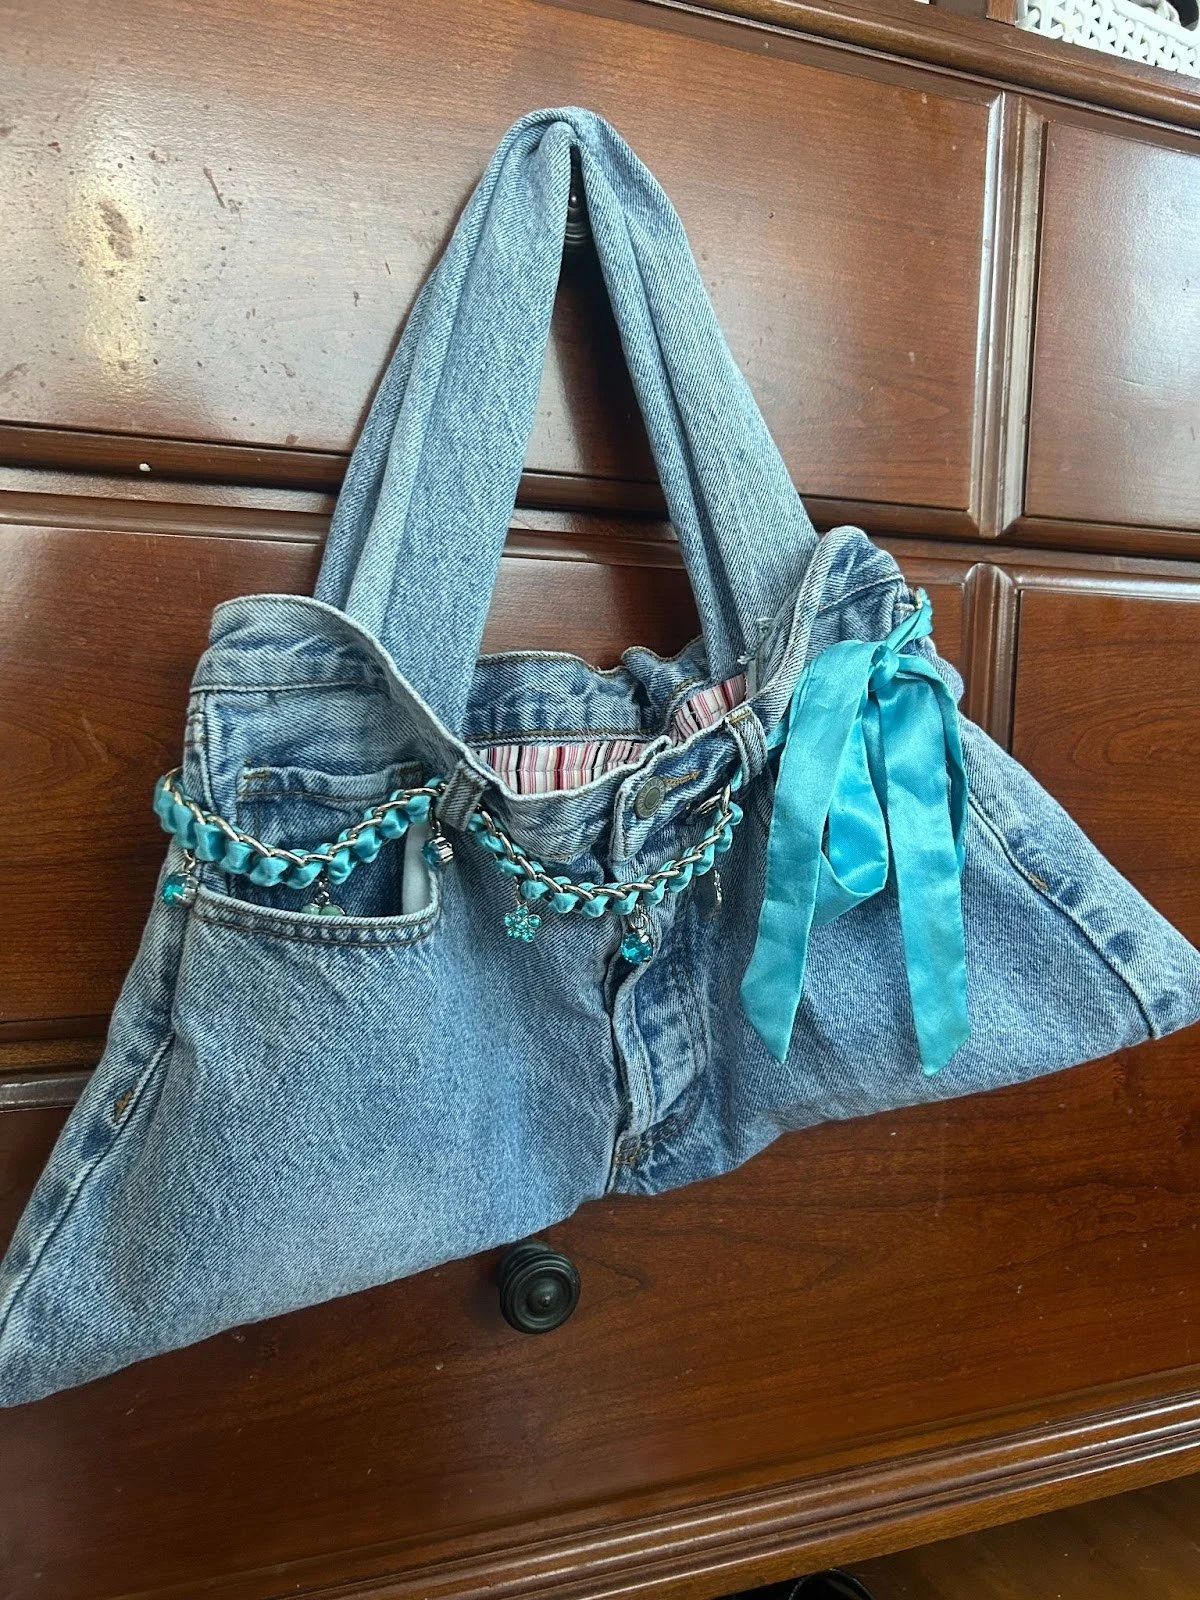
Step 4: Decorate!
Your upcycled denim bag is now complete! Feel free to add a belt, patches, pins, or other embellishments to make it your own.
Just like that, you’ve created a brand-new bag from something old, and made a little more room in your closet in the process. Happy sewing!